Find the best orientation
Place the main living space where light and outlook will matter most. Sketch options for windows, privacy and outdoor access before fixing the rooms in place.

The right floor plan begins with the way you live. Work from the garden and the front door inward, then test the dimensions against real furniture and daily routines.
View the field notes ↓
Trace the walk from the door to the kitchen with groceries. Check clearances with doors open and chairs pulled out.
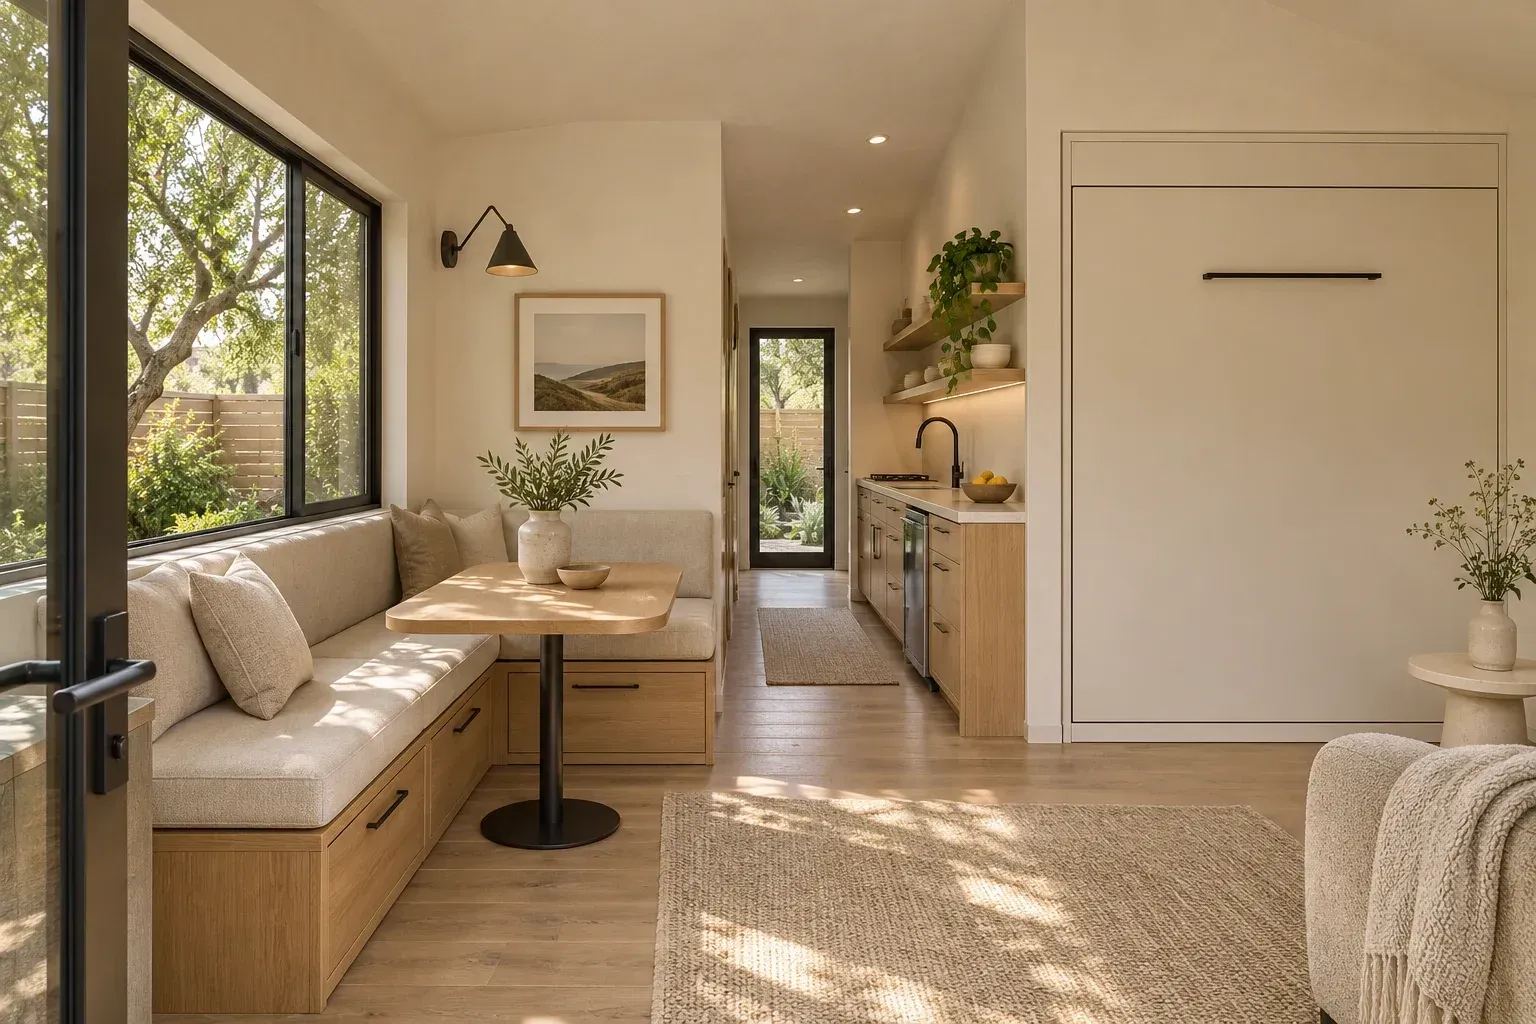
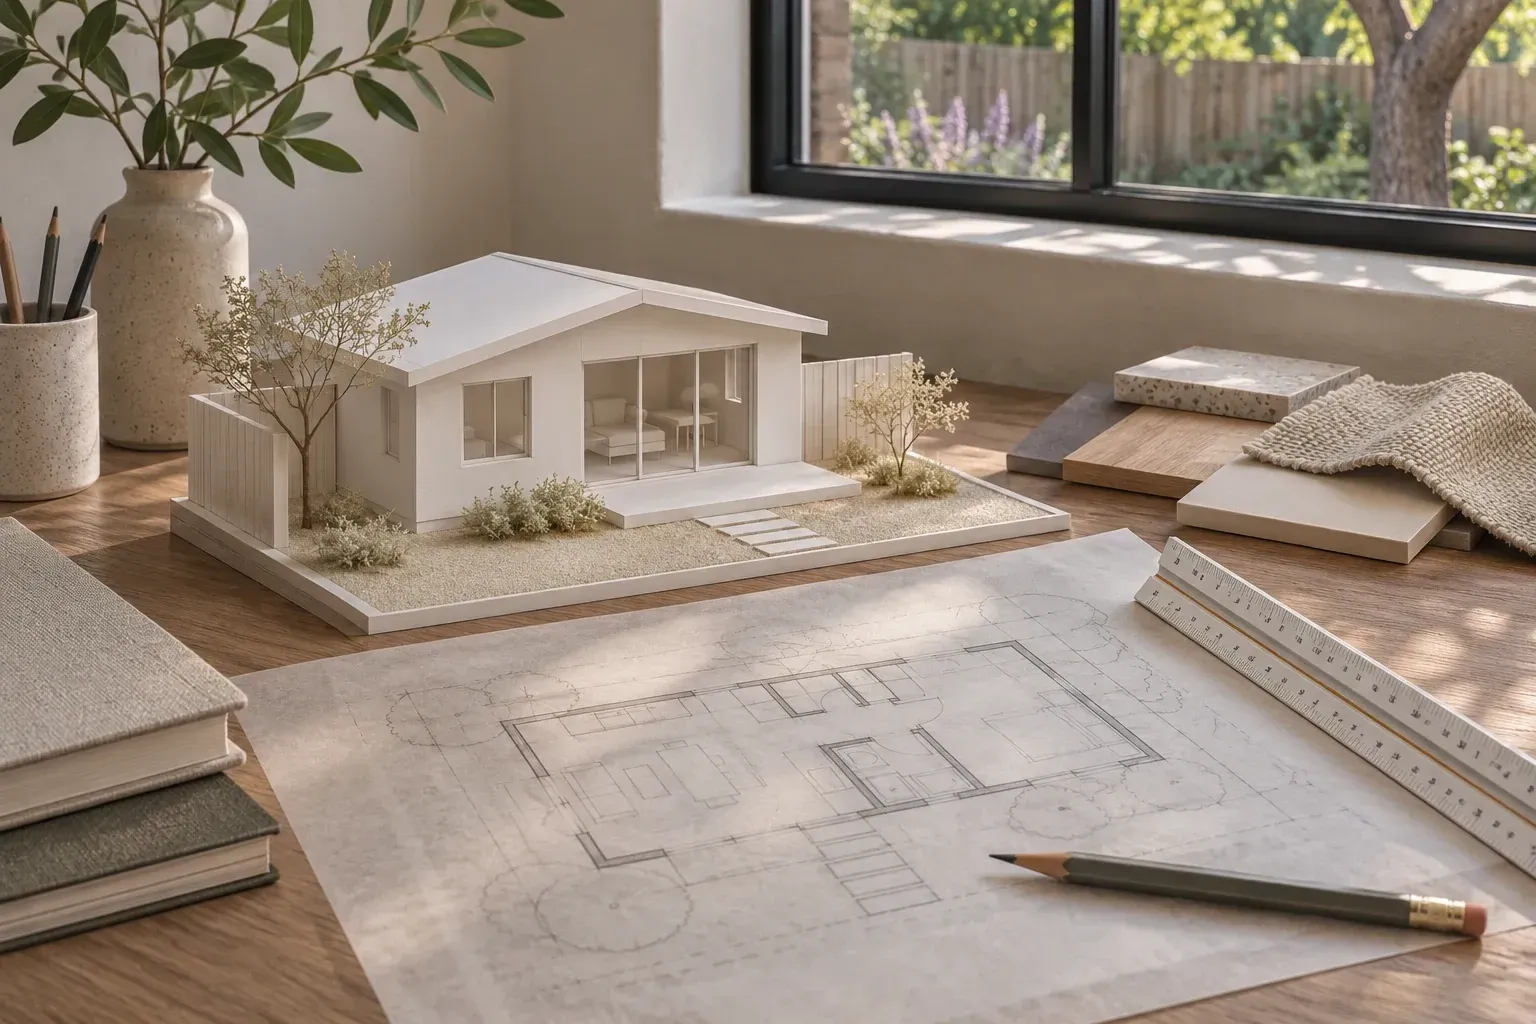
Place the main living space where light and outlook will matter most. Sketch options for windows, privacy and outdoor access before fixing the rooms in place.
Trace arriving home, making dinner, doing laundry and hosting a guest. Note where door swings collide or a route crosses a private space.
Review the layout alongside exterior proportions, storage and materials. A change in one room can affect a window, a roof edge or the location of services.
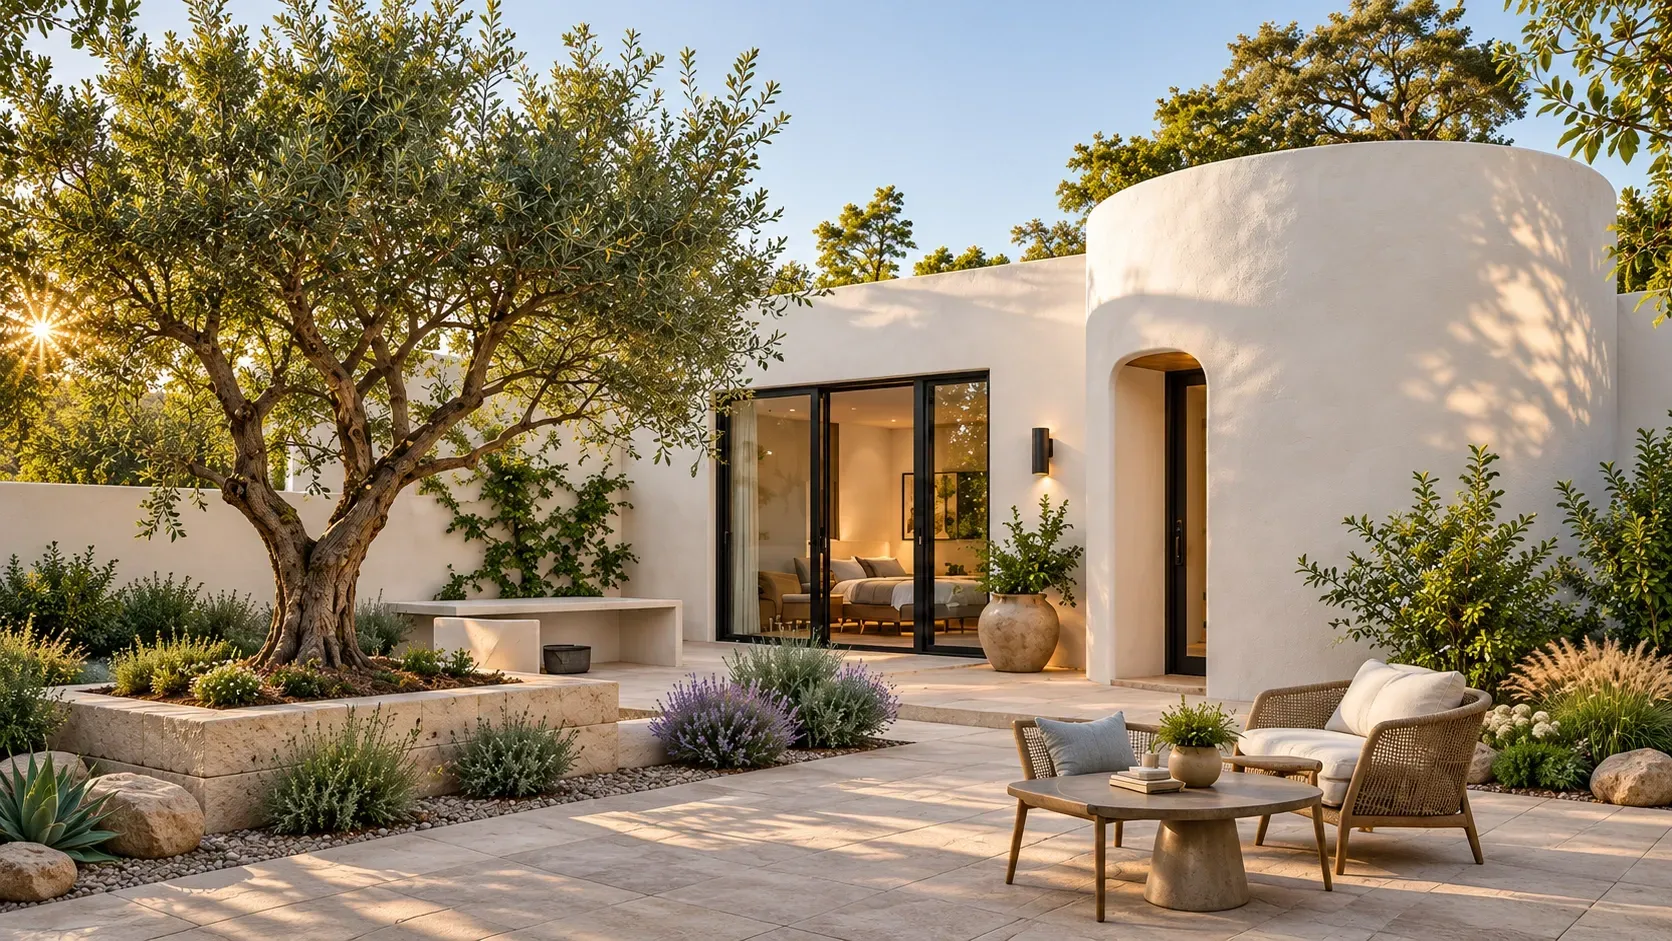
Choose the seat you picture using most. Mark its line of sight to a tree, patio or neighboring window before finalizing the window openings.
Illustrative architectural conceptEach option should show the same site outline, north direction, doors, windows, fixtures and furniture at a consistent scale. Ask for the same resident scenario on each plan so one option does not appear more spacious simply because it omits a table or wardrobe.
Draw the approach from the street, parking and the main house. Test it with groceries, a bicycle or visiting family. Check who passes bedroom windows, where someone waits at the door and whether there is a sheltered spot for keys and packages.
A sample plan helps identify room relationships you like. Place it on the actual site with its windows, utilities and entrance shown. Ask which changes the plan owner allows and which adaptations would need separate design or review.
Measure a room you know and draw its outline beside the proposed one at the same scale. Then tape one critical area on the floor at full size. Try pulling a chair out, opening a cabinet and carrying a laundry basket through it.
Show the main house, property edges, access path, existing structures, significant trees and known utilities. Label uncertain boundaries and dimensions. The team can then distinguish design preferences from facts that need a survey or site investigation.
Mark the room where daylight matters most and the neighboring windows you want to avoid facing directly. Try two opening positions and check the view from a seated position as well as standing. Review exterior shading before enlarging the glazing.
Agree on the scope with the designer and ask what question each option will answer. Two genuinely different approaches to entry, outdoor space or bedroom privacy often show more than several plans that move only a closet or a doorway.
A concept drawing helps settle the arrangement, character and position of the home. A permit submission needs coordinated information for the jurisdiction’s review. Ask the designer to identify the drawings, consultant work and checks included in each stage.
Mark comments on one dated drawing set. Describe the problem you are trying to solve, such as the dining chair blocking the bathroom door, and separate it from a proposed solution. Consolidate feedback from everyone before sending the next round.
Ask about a review once the site position, structure and main room layout are legible and revisions are still practical. Request feedback on access, construction sequence, material choices and cost assumptions, then log the decisions that change the next drawing.
Keep your notes together for the first property conversation.
Build your property brief ↗